AWeber Email Verification Integration

Easily integrate bouncify with your favourite web services

Back to Integrations
Connect your AWeber account with Bouncify
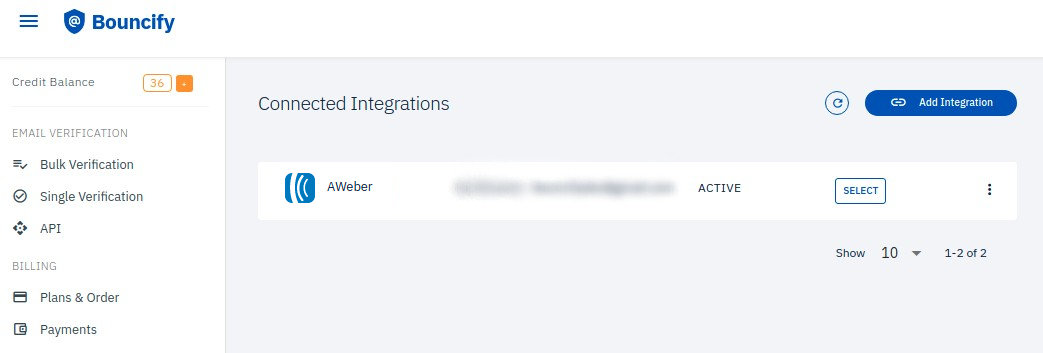
  • To begin with this integration, you need to connect your AWeber account to Bouncify. Login to your Bouncify account and navigate to the “Integrations'' page.
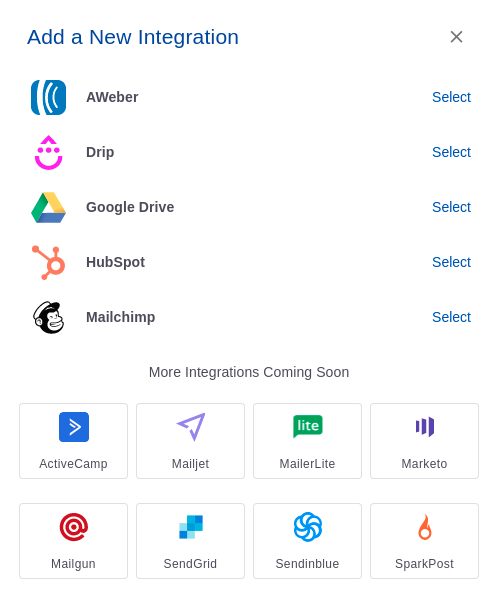
  • Click the “Add Integration” button at the top right corner of the page. This will open a popup window displaying a list of apps to integrate.
  • Select AWeber integration, it will redirect to the AWeber login page for authenticating your AWeber account.
Importing a email list from AWeber
  • Once you have successfully connected, your AWeber integration will be listed in the integration page. Select the AWeber integration from the Integrations page.
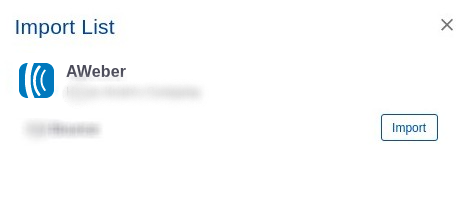
  • This will redirect to the Bulk email verification page and a pop-up box appears with your AWeber lists. Select the required list and click “Import” to start importing your list.
Verifying a AWeber List
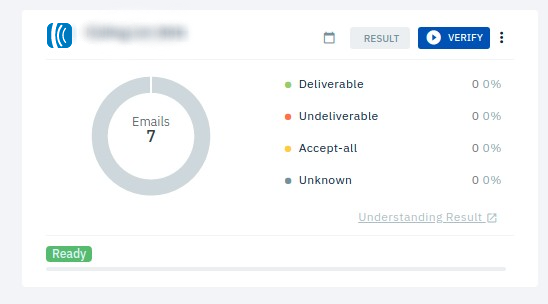
  • Once imported, click “Verify” in the top right corner of your list and then click “Clean List” in the pop-up box.
Unsubscribe invalid emails from your AWeber account
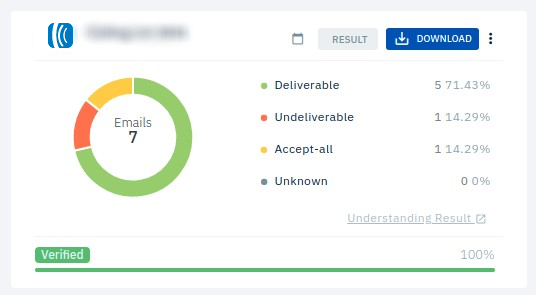
  • Once your verification is completed click “Download” at the top right corner of the list. This will open a popup window with download and export options.
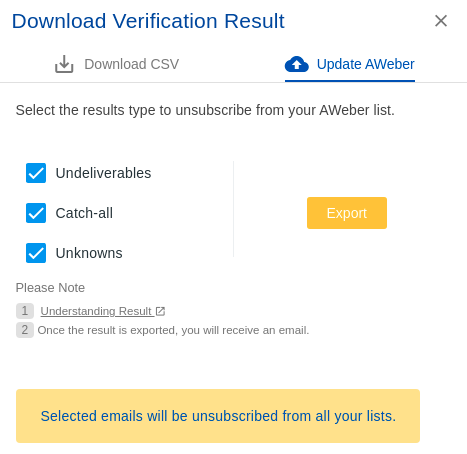
  • Go to the “Update AWeber” tab, select the result types that you are going to unsubscribe in the AWeber account. Then click the “Export” button. You can also download your result as a csv file.
  • Wait for a few seconds to complete the process. You will receive an email notification once the export is complete.
  • Note: Upon completion of list verification, the list must be exported to AWeber within 15 days. If not exported within this timeframe, the list will be archived, and only the verification results will be available for download.
Disconnecting your AWeber account
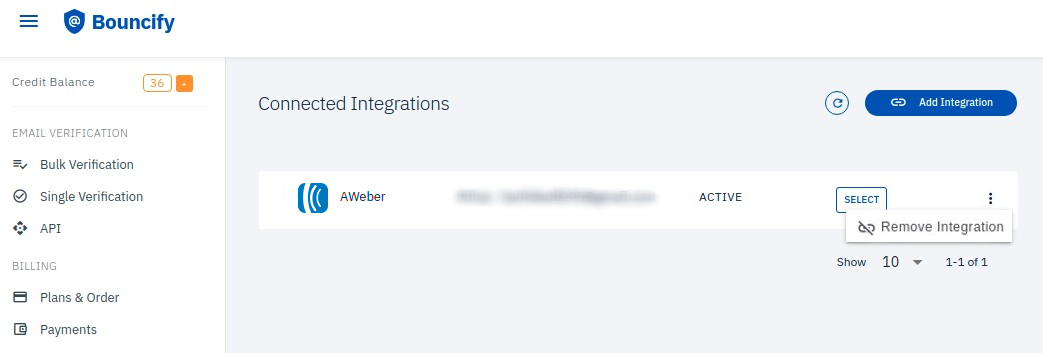
  • You can disconnect your AWeber account. Navigate to the “Integrations” page in your Bouncify account. And select (:) icon at the right side of your AWeber integration.
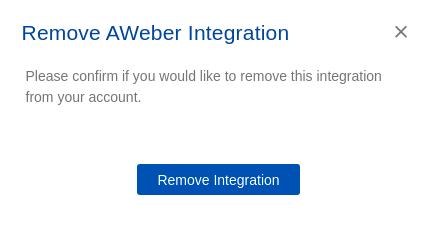
  • Then click “Remove Integration”. This will open a pop up window to confirm the disconnect.

Note: You won't be able to export verification results to Aweber after disconnecting the integration.

Ready to use email list cleaning tool?

Get 100 free verifications. Test single emails, bulk lists or our api. No credit card.